The Teacher Who Came Home Educated
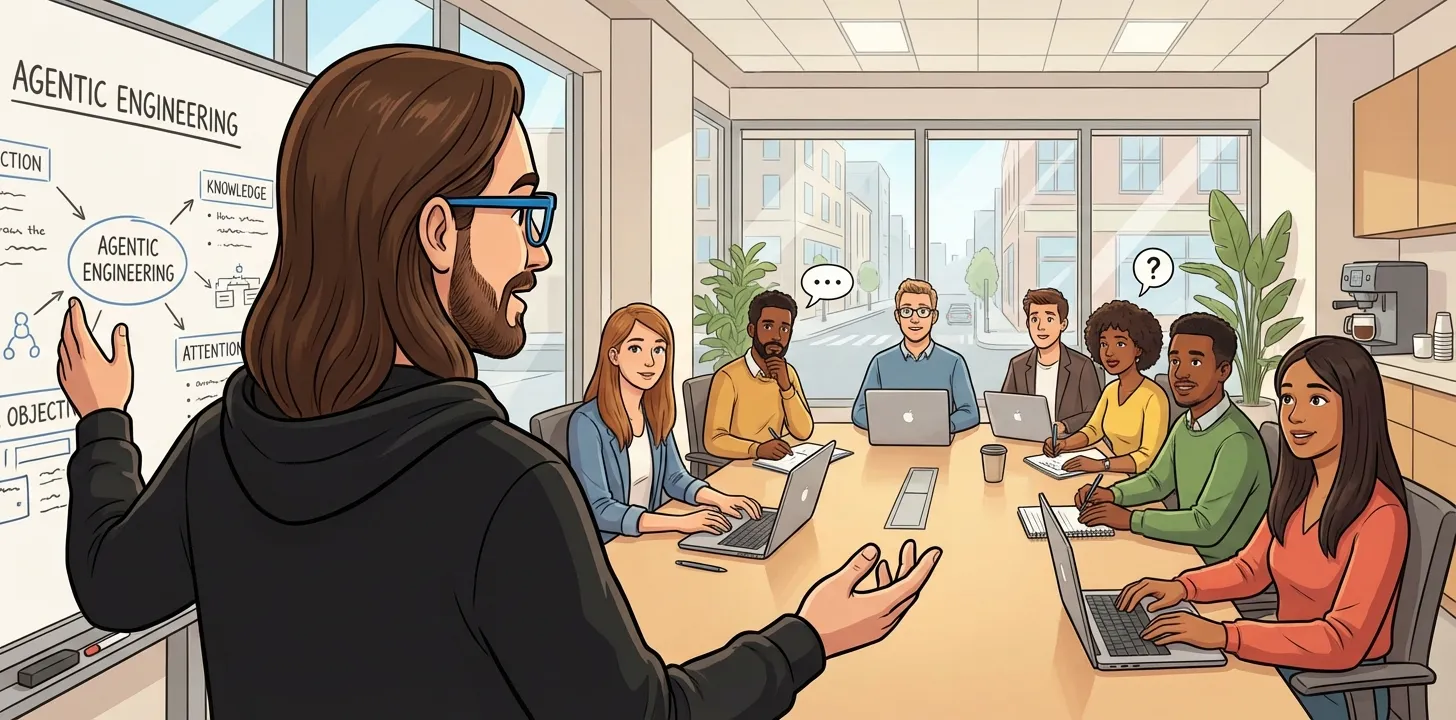
Last week I visited tudock.de to give a two-day training on agentic engineering. I expected to teach. I ended up learning quite a bit myself.
When you work with a technology daily, you naturally gravitate toward the parts that interest you most. You develop blind spots. There are corners of the tooling you skip because something else caught your attention. I knew this about myself, but preparing for the workshop made it pretty clear. Suddenly, I had to cover everything. Not just the hippest stuff, but the edge cases, the boring configuration details, the parts I had often glossed over. Preparing the material took me into corners I had been avoiding.
The workshop itself surprised me too. Two things happened that I didn’t expect.
First, the energy in the room. The team at Tudock finally had dedicated time to experiment with agentic tools without the usual interruptions. No Slack pings, no “quick questions,” no context switching. Just two full days of exploration. People started connecting the dots between what they’d heard about and what they could actually do.
Second, my own energy. Watching people pick up concepts quickly is satisfying. But what pushed me further was being questioned. Being challenged. The team didn’t just absorb information — they pushed back. “Why does this work this way?” “What happens if we do it differently?” “Doesn’t this contradict what you said earlier?”
These questions made me think deeper than I would have on my own. Even if I had blocked two days to explore by myself, I wouldn’t have gone as far. Being put on the spot, having to justify your assumptions — it does something that reading alone doesn’t.
I’ve given talks before, but this was different. A two-day workshop creates a feedback loop that a 45-minute conference slot can’t. By the end, I had a list of topics I need to revisit and assumptions I want to question.
If you work with a technology and feel comfortable with it, try teaching it. You might notice how much you’ve been skipping.